REVIEW · LAKE TAHOE
Bike Rental in South Lake Tahoe
Book on Viator →Operated by Lake Tahoe Tours And Rentals · Bookable on Viator
Lake Tahoe looks better with wheels. This bike rental near Zephyr Point gives you a simple way to get out on the water’s edge and roll into multiple trail types around South Lake Tahoe. I love the easy bike check-out and return setup, and I love that you get a helmet and maps so you can plan instead of guessing. The one real consideration is you’ll want moderate physical fitness, and the experience depends on good weather.
You can choose a rental from about 1 hour to a full day, and you decide how you start: park and ride from the shop or load and go wherever you want. I also like that you get free parking during your rental period, which makes the whole day feel less stressful. Staff support can be very hands-on—one team member named Casey is singled out for clear route info and helping with the bike handoff—so if you’re not sure what to ride first, you’re not stuck figuring it out alone.
In This Review
- Key things I’d plan around
- Where you start: Stateline shop and the quick route to trails
- What you actually get with the rental (and what you don’t)
- Riding philosophy: park-and-ride now, decide your trails later
- Trail levels you can match to your comfort
- The shoreline ride: why it’s the best “first plan”
- How the KHS bike choice changes your options
- A realistic “itinerary” for 1 hour vs. a full day
- If you book about 1 hour
- If you book a full day
- Getting in and out fast: what “easy” really means here
- Parking and road time: the small logistics that can ruin a ride
- Safety and comfort: what you should bring yourself
- Who this bike rental is best for
- Who should think twice
- Should you book this bike rental in South Lake Tahoe?
- FAQ
- Where is the meeting point for the bike rental?
- What time does the experience start?
- How long can I rent the bike?
- What is included with the rental?
- What is not included?
- Is free parking provided?
- What kinds of trails can I ride?
- Are there routes for different skill levels?
- Do I ride from the shop, or can I load and go?
- What is the cancellation policy and weather requirement?
Key things I’d plan around
- Zephyr Point area access: geared for shoreline riding and quick connections to trails.
- Multiple trail surfaces: paved bike paths, single tracks, and gravel/dirt options.
- Skill-based trail choices: routes are organized for beginner, intermediate, and advanced riding.
- Helmet and maps included: you leave with the essentials to navigate without extra stops.
- Free parking during your rental: helpful if you’re driving in from nearby hotels.
Where you start: Stateline shop and the quick route to trails
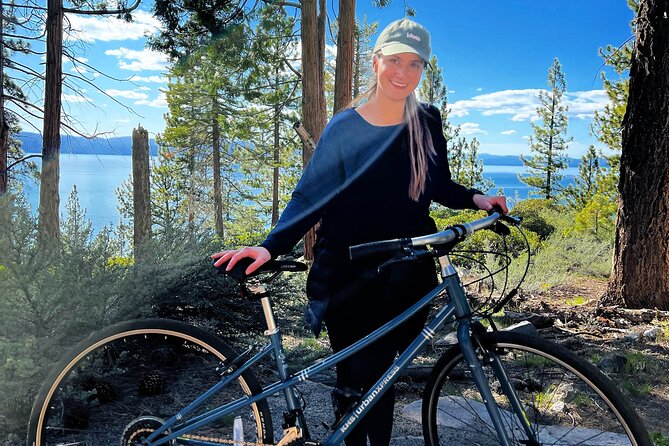
Your ride starts at Lake Tahoe Tours And Rentals, 152 Hwy 50, Stateline, NV 89449. The provided start time is 3:00 pm, but the bigger win here is flexibility in how long you’re on the bike: from roughly 1 hour up to about a full day.
Here’s what matters for planning: the shop setup is designed so you can get moving with minimal road riding. If you’re riding out from the shop, you travel about a quarter mile along the main road to reach trail access. That short connector matters because it reduces the amount of time you spend in car-heavy streets before you’re on safer, more bike-friendly routes.
And yes, you’ll be returning to the same meeting point. The whole thing is built around a straightforward loop: pick up → ride your chosen set of trails and shoreline time → bring the bike back.
You can also read our reviews of more tours and experiences in Lake Tahoe.

What you actually get with the rental (and what you don’t)
The rental includes:
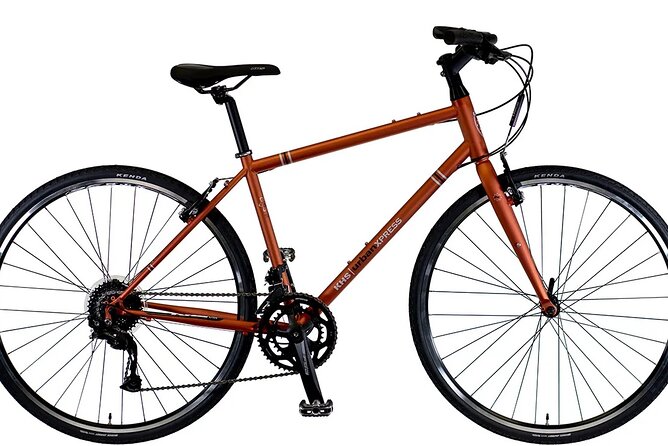
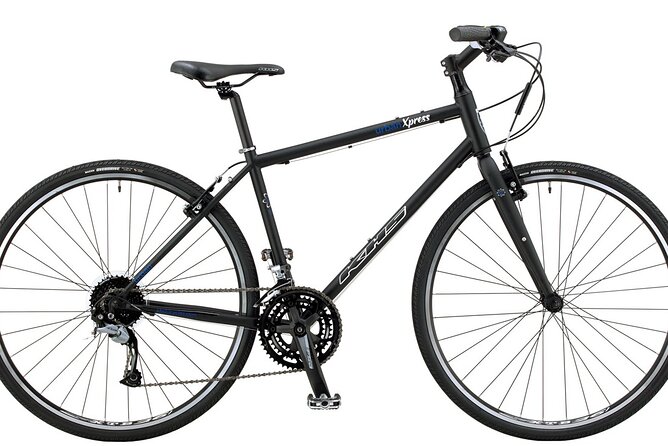
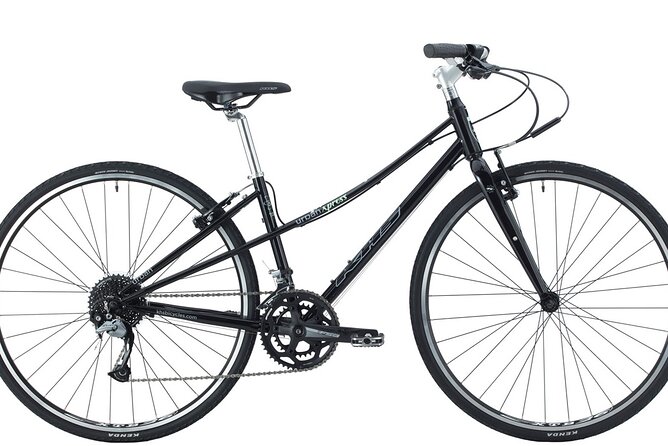
- A KHS bicycle (the kind of bike you can use on both dirt and paved paths)
- A helmet
- Maps to help you understand the general trail options
Not included:
- Riding gloves and other safety pads
- Equipment delivery (it can be added in-store)
That gear list is pretty telling. If you show up ready to ride, you’re good. If you care about hand comfort and extra protection, pack gloves or plan to buy/borrow them elsewhere, since pads aren’t part of the standard setup. The helmet is included, which is exactly what you want in a place where you might mix surfaces and spend time on long scenic stretches.
Riding philosophy: park-and-ride now, decide your trails later
One of the most useful parts of this rental is that you’re not boxed into a rigid route with staged stops. You can:
- Park and ride from the shop, or
- Load and go anywhere you’d like
That choice sounds small, but it changes the whole experience. If you want to ease in—straight to the shoreline for views first—go for it. If you’re already comfortable and want to hit tougher trails quickly, you can aim for those sooner.
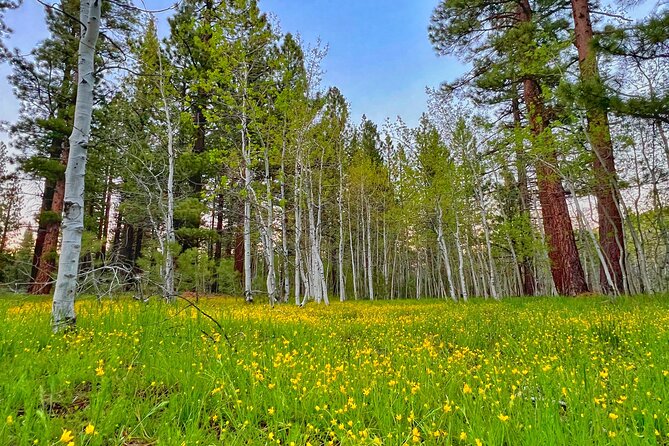
The shop area is set up as a launching pad. From there, you can access paved bike paths, single tracks, and gravel/dirt paths. The service also emphasizes that you can ride along the shoreline and then connect to trails with minimal road travel. In plain terms: you get variety without feeling like you’re constantly fighting traffic.
Trail levels you can match to your comfort
You’ll be able to choose routes based on your comfort level: beginner, intermediate, and advanced. That’s a big deal because South Lake Tahoe riding can mix surface types fast—smooth paths can turn into loose gravel or single-track-style routes depending on where you go next.
The practical approach I’d recommend is to start at the level that matches how you feel that day, not how strong you think you are at home. Wind off the lake, sun, and altitude can change how your legs feel. If you pick a route that’s slightly easier than you expect, you’ll still get a satisfying ride and you won’t burn your energy early.
The maps are described as showing the general trails in the area. That means you’re not getting a step-by-step guided tour, and you should treat the maps as direction, not a GPS replacement. If you like to stop often for photos and lake views, build extra time into your rental window.
The shoreline ride: why it’s the best “first plan”
The highlight here is pretty clear: you ride along the shoreline of Lake Tahoe, and from that shoreline you can access the trails that stretch beyond South Lake Tahoe.
Why I think this is smart for most people:
- Shoreline riding gives you a consistent, scenic payoff from the start.
- You can turn a big loop into smaller sections based on time.
- If you decide a trail is more challenging than you expected, you can adjust without the whole day collapsing.
Also, the experience notes that some of the best views are right in the area around the shop. That’s a great setup if you’re not sure how far you want to go. You don’t have to commit to a long trek just to get that classic Tahoe feeling.
How the KHS bike choice changes your options
You’re getting a KHS bicycle, described as good for dirt or paved paths. That matters because Tahoe riding isn’t one single type of terrain. You might start on a paved bike path, then switch to gravel/dirt, then return to smoother riding.
With this kind of bike setup, you can usually handle:
- Smooth sections when you want speed and easy rolling
- Loose surfaces when you want more adventure
- Mixed routes without feeling totally out of place
That said, if your personal style is very technical single-track riding, you may want to consider your comfort with rougher textures. The rental does include options like single tracks, but they’re still described as part of a broader mix of trail types—so choose your trail level thoughtfully.
A realistic “itinerary” for 1 hour vs. a full day
There isn’t a fixed guided itinerary with named stops and timed checkpoints, which is exactly the point: you’re customizing your ride. Still, it helps to think in time blocks. Here’s how I’d plan it.
If you book about 1 hour
Use that hour to do a clean, high-reward loop:
- Start by heading to the shoreline to get those immediate lake views
- Pick one trail connector or one trail segment and then come back
- Keep your pace steady so you’re not late returning
Because you’re returning to the same meeting point, it’s smart to build in a “return buffer.” With only an hour, you don’t want the ride to turn into a sprint at the end.
If you book a full day
With the whole day, you can mix surfaces and ride multiple sections:
- Start with shoreline riding early to set the tone
- Use the trail maps to choose one beginner/intermediate path and then add a second section if you still feel good
- Save your tougher or longer connections for when you’ve warmed up
This is also a good time to take advantage of the fact you can access trails running beyond South Lake Tahoe. The rental is built for that kind of exploration, without requiring a guided group.
Getting in and out fast: what “easy” really means here
The experience is designed to keep your time off the bike to a minimum. Multiple riders emphasize how easy it is to check the bike out and bring it back, and that the staff provides informative route guidance.
Here’s why that matters: Tahoe riding is best when you spend your best energy actually riding. If your setup process drags on, you lose daylight or momentum. This rental aims to get you through the door and onto the path quickly, with help that’s practical—what to ride first, what kind of trails connect easily, and how to get moving.
If Casey or another staff member walks you through routes, treat that as part of the value. Ask for one clear recommendation at your skill level, then decide if you want to add a second option based on how your legs feel.
Parking and road time: the small logistics that can ruin a ride
This is one of those “boring but important” details that makes a big difference. You get free parking during the bike rental period. That helps if you’re coming from a hotel by car and you don’t want to juggle meters or pay for parking twice.
The other small logistics note is the quarter-mile main road connector if you ride out from the shop. It’s short, but it’s still a factor. If you’re nervous about road riding, plan to spend that quick section with extra caution, then shift your attention to the trails once you’re fully on the mapped routes.
Safety and comfort: what you should bring yourself
The rental includes a helmet, which is the big safety piece. But you’ll likely want extra comfort items on your own time:
- Gloves (since they’re not included)
- Any personal padding you prefer for longer rides
- Sun protection and water for a full day, especially in warmer months
You don’t need a special kit to enjoy this. You do need to think about comfort, because mixing surfaces and riding along the shoreline can mean lots of time in the saddle.
Who this bike rental is best for
This is a great fit if you want:
- Flexible riding without a rigid tour schedule
- A chance to mix paved paths, gravel/dirt, and single tracks
- A shoreline-focused day with easy trail access
- A rental that hands you maps so you can choose your own level of effort
It’s also a solid choice if you value staff guidance. Casey gets special mention for helpful route info, and that kind of support matters when you’re deciding between beginner and intermediate trails.
Who should think twice
If you don’t have moderate physical fitness, or you’re uncomfortable with mixed surfaces, you might find the trail options more demanding than you want. The rental does include beginner routes, but the overall area includes single tracks and gravel/dirt paths.
Also, the experience requires good weather. If conditions are poor, the plan can be adjusted or you’ll be offered a different date or a full refund. In other words: don’t lock this in if you’re expecting a stormy, washout kind of day.
Should you book this bike rental in South Lake Tahoe?
I’d book it if you want a simple, scenic way to ride Lake Tahoe with real flexibility. The combo of a KHS bike for mixed surfaces, helmet and maps included, and the ability to choose beginner through advanced trails makes it easy to tailor the day to your comfort. Add free parking, plus a staff that can guide you quickly (Casey’s name pops up for a reason), and you’ve got a value-focused setup.
Skip it only if you’re looking for a fully guided, stop-by-stop tour with long explanations, or if you’re not up for moderate riding effort. This is a self-directed ride with smart support, and that’s exactly why it works so well in South Lake Tahoe.
FAQ
Where is the meeting point for the bike rental?
The meeting point is Lake Tahoe Tours And Rentals, 152 Hwy 50, Stateline, NV 89449, USA.
What time does the experience start?
The start time provided is 3:00 pm.
How long can I rent the bike?
The duration is approximately 1 hour to 1 day.
What is included with the rental?
The rental includes a KHS bicycle and a helmet, plus maps for general trails in the area.
What is not included?
Riding gloves and other safety pads are not included. Equipment delivery can be added in-store.
Is free parking provided?
Yes. There is free parking during the period of your bike rental.
What kinds of trails can I ride?
You can access paved bike paths, single tracks, and gravel/dirt paths.
Are there routes for different skill levels?
Yes. You can choose beginner, intermediate, and advanced trails.
Do I ride from the shop, or can I load and go?
You can park and ride from the shop, or load and go anywhere you’d like.
What is the cancellation policy and weather requirement?
You can cancel for free up to 24 hours in advance for a full refund. The experience requires good weather, and if it’s canceled due to poor weather, you’ll be offered a different date or a full refund.